This document helps you to set push notification with latest common installer package, Before starting adding push notification setting, make sure you have created FCM key for android notification and ios certificates for iOS notification.
Login to admin ->select components -> Acmanager
-
App Users - show list registered app users.
-
Push notification config - Show list of push notification config.
-
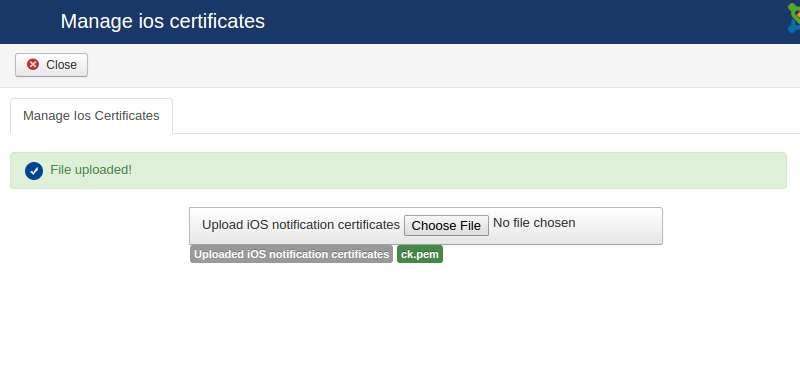
Manage ios certificates - using this view user can upload ios certificate.
App Users view
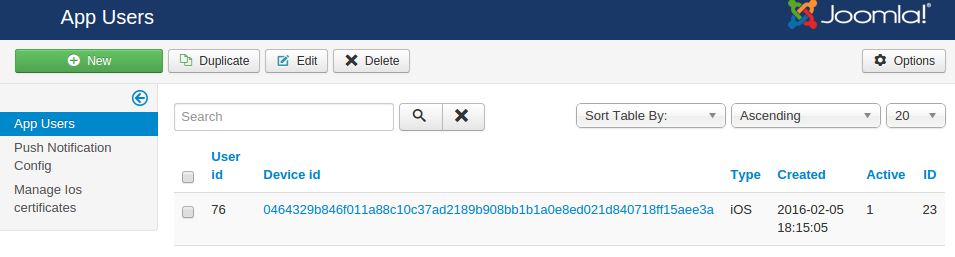
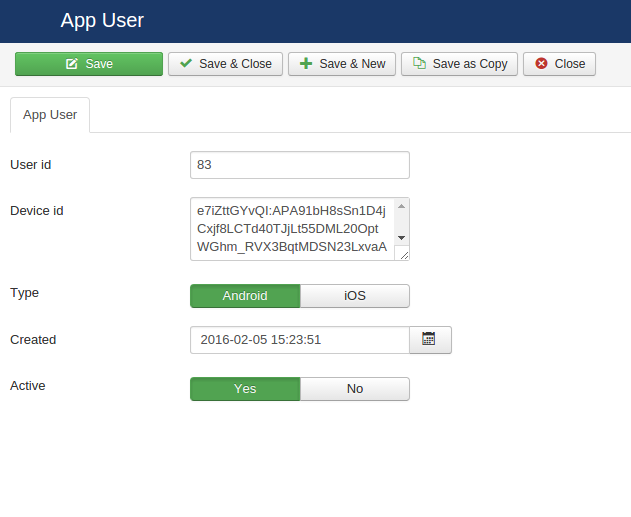
Using this view, site admin can manage registered app on a site. Site admin can enable / disable user device and also can update details. When admin selects “App users” menu it shows lists of users. By selecting particular user device id, admin is able to edit user notification details.
1. App users list
2. Edit view for user notification details.
Push Notification config
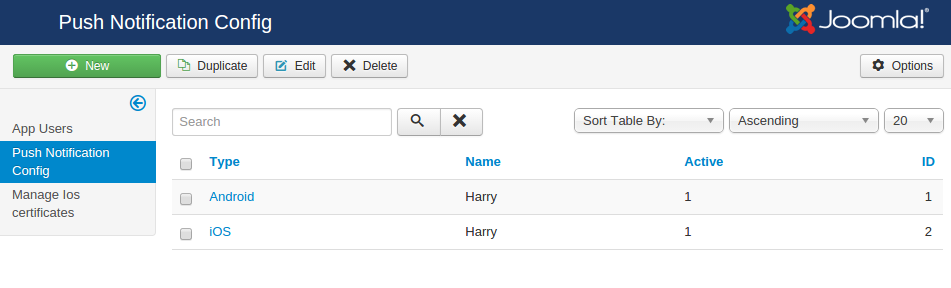
Using this view site admin can add notification type. This list shows added notification type on the site, those types are used in app for sending notifications. While sending a notification, active notification type will work else notification will not work.
1. Push notifications type list.
To edit existing notification type, click on type and edit type. Edit view for push notification type.This edit view has two types of notification configuration
Android -
This configuration is used for android FCM notification purpose. To set FCM notification follow the steps given below.
Step 1 - Select type as ‘Android’
Step 2 - Enter your name.
Step 3 - Select notification as active. If set yes - notification generation process work.
Step 4 - Define your site type - if it is a live site then select ‘Production’, if it is a demo or staging select ‘Development’
Step 5 - Server Key - Add FCM key, if not created click here for document.
Step 6 - Add FCM project Number. When you create a FCM key, you will get a project number.
Step 7 - click on save button and save the configuration.

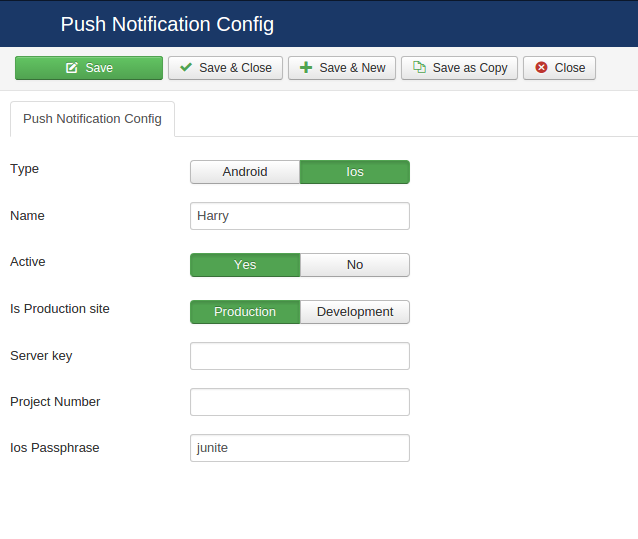
iOS
This configuration is used for iOS notification purpose. To set iOS notification, follow the steps given below.
Step 1 - Select type as ‘iOS’
Step 2 - Enter your name.
Step 3 - Select notification as active. If set yes - notification generation process works.
Step 4 - Define your site type - if it is a live site then select ‘Production’, if it is a demo or staging select ‘Development’
Step 5 - Server Key - Not applicable for iOS.
Step 6 - Project Number - Not applicable for iOS.
Step 7 - iOS passphrase - This is your app name. Ex - jUnite.
Note - This passphrase is must be same as iOS certificate passphrase.
Step 8 - Click on save button to save the configuration.
Manage iOS certificates
This is a simple form where you need to upload iOS notification certificate. Name of the certificate must be ck.pem. Upload certificate using this view.